How to start with details – manual
read previous step here – how to account recoupables
Before you can now run your royalty statements, the last step is to Confirm Royalty Dates. Depending on the account base selected within your royalty accounts, all sales lines are added to the correct accounting period.
Go to LABEL / STATEMENTS / CHECKLIST and check if you can answer all step’s with a ‘yes’. Then click Confirm Royalty Dates at the bottom of the page. Now you can run your royalty statements.
To run your royalty statements in a batch, go to LABEL / PLUGINS and activate the Plugin Batch Statements by clicking twice.
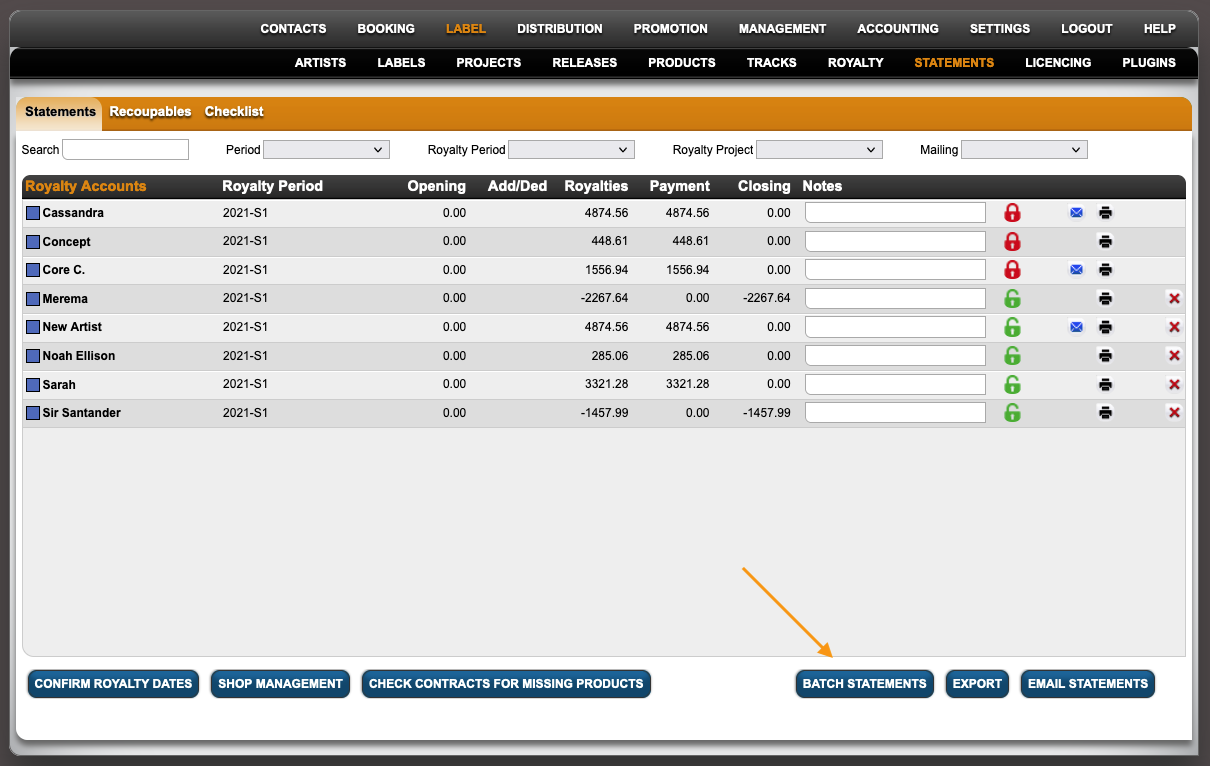
Back on LABEL / STATEMENTS / STATEMENTS you can now find the additional button Batch Statements.
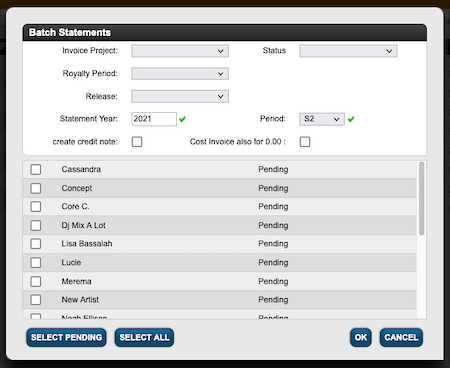
Click Batch Statements and select Statement Year and Statement Period in the module window.
Now select manually which royalty accounts you want to run statements for or click Select Pending / All and click [OK] to proceed.
Congratulations! Your statements are calculated now. Relax! You will be notified by email when the process is complete.
Find all your statements on LABEL / STATEMENTS / STATEMENTS or in the royalty account s subtab STATEMENTS.
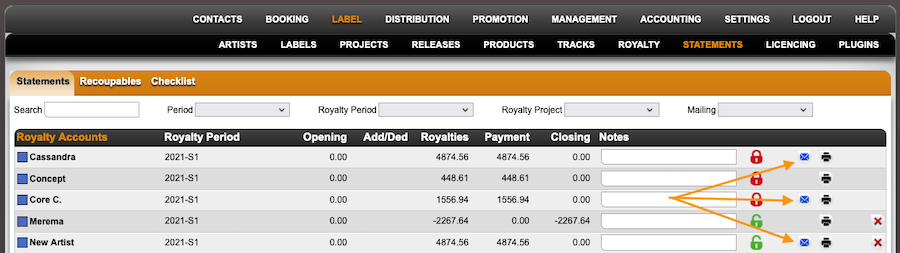
If your royalty account contacts have email addresses assigned, you can send your statements within details by clicking the email symbol.