This article explains the core actions you can perform with labels in details. Use the sections below for step-by-step instructions.
► Create a Label
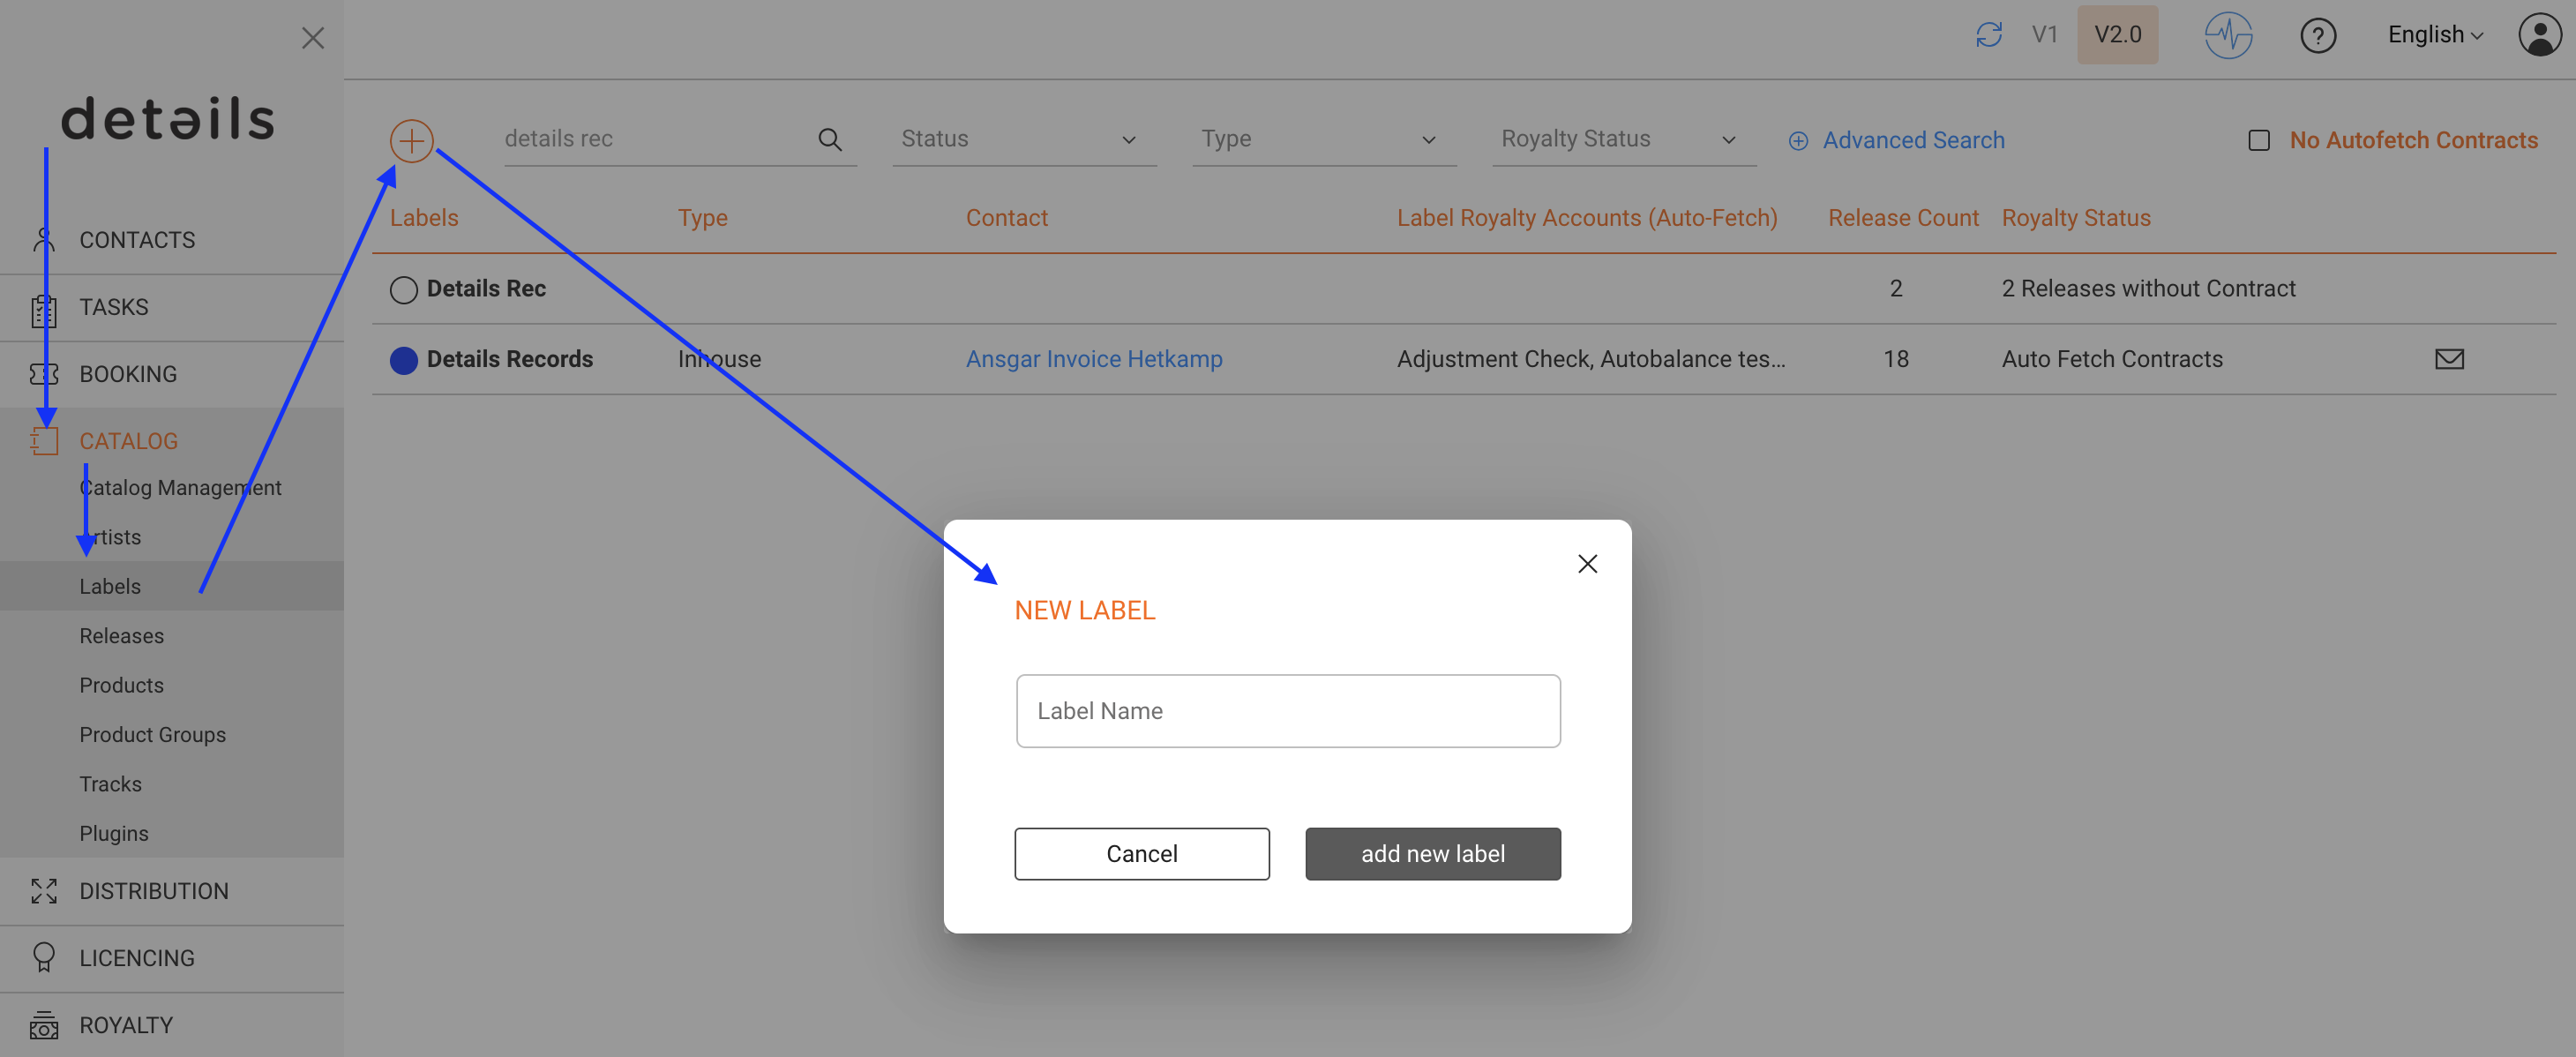
- Go to CATALOG / LABEL.
- Click [+] to add a new label.
- Save to create the label and open its detail tabs.
► Edit a Label
- In CATALOG / LABEL, click the label name.
- Adjust fields in any tab (OVERVIEW, INFO, SETUP, METADATA).
- Changes are saved automatically.
► Delete a Label
- Open the label and check RELATIONS for linked releases or products.
- Remove any linked items first.
- Back in CATALOG / LABEL, click [x] to delete the label.

► Configure Autofetch
Autofetch automatically links all new releases of a label to a royalty contract. Setup is done in the ROYALTY / CONTRACTS module.
For step-by-step instructions, see the dedicated Autofetch.
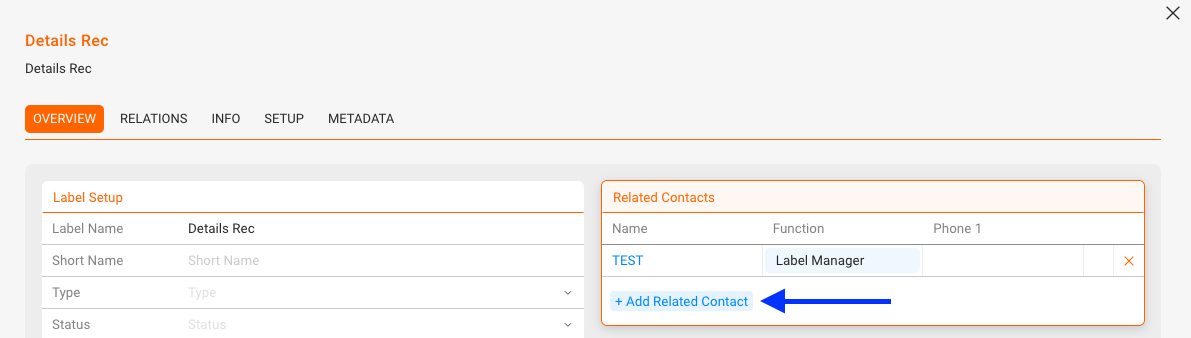
► Link Contacts
- Open the label and go to OVERVIEW.
- In Related Contacts, click [+] and select roles such as Label Manager, Accounting, or Promotion.
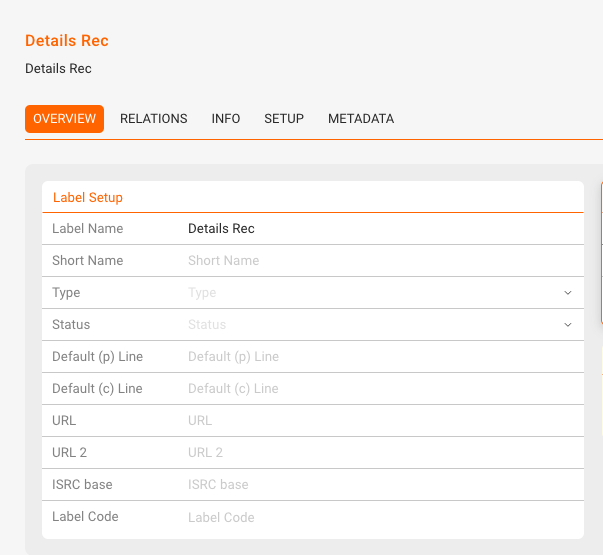
► Edit the Label Setup
- Change Label Name or Short Name.
- Adjust Type (In-House, Distributed, External) and Status.
- Enter Default P-Line and C-Line.
- Add URLs (two link fields available).
- Set ISRC Base and (if needed) Label Code.
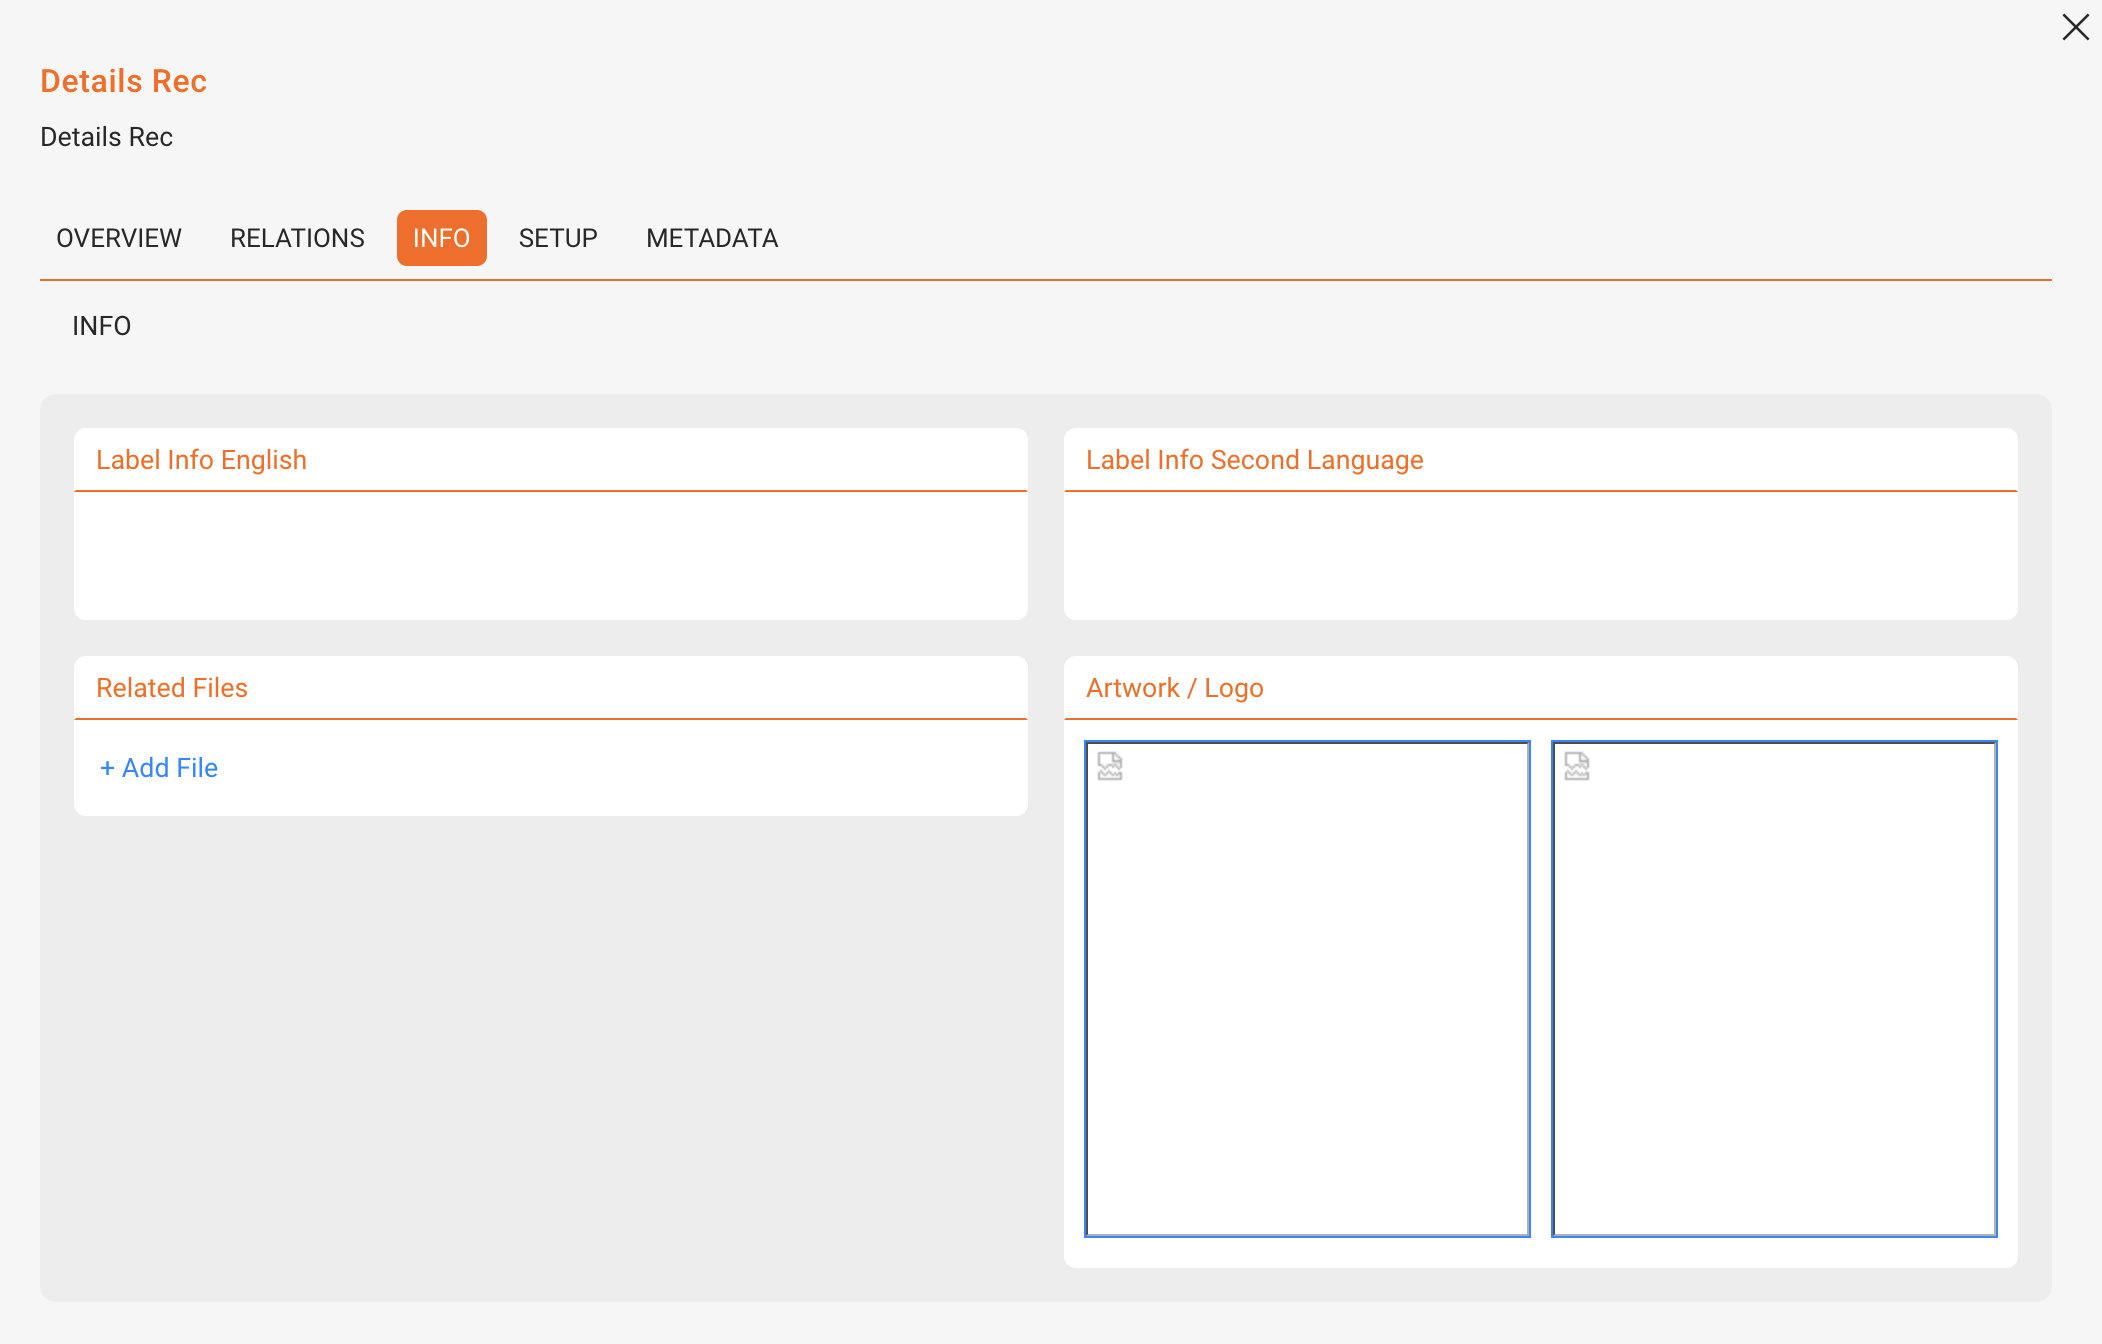
► Add Bios, Logos and other files
- In INFO, enter label biographies in different languages.
- Upload and select an Artwork / Logo.
- Attach Related Files as needed.
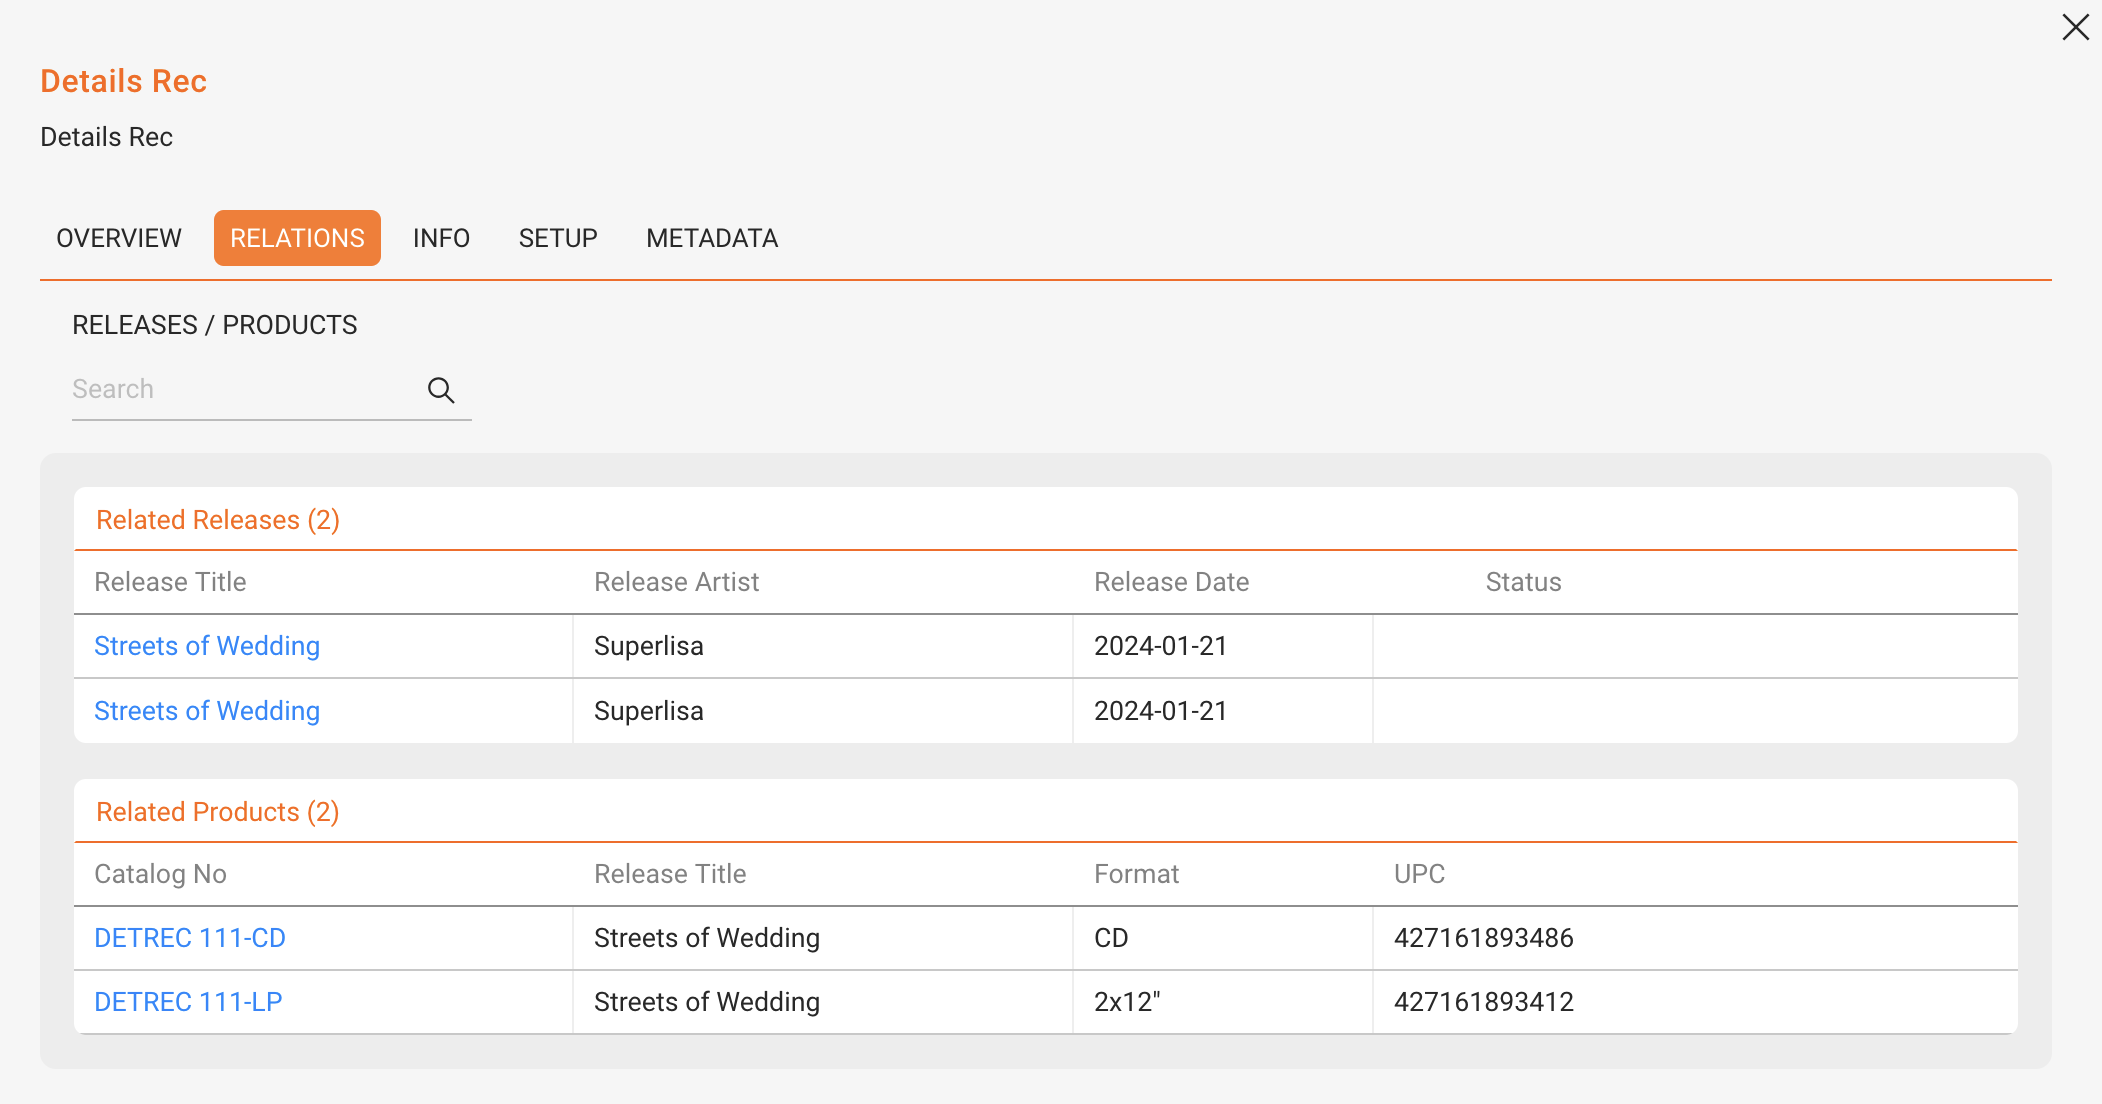
► Add Relations and Products
In the RELATIONS tab, you see all releases and products linked to the label. Use the search to filter, and click any entry to open the RELEASE or PRODUCT page. To add Releases (and therefore products) you have to connect a release in its inital creation process (data import or manually). A later change of label-release connection can be executed by the details team. Please contact us if needed.
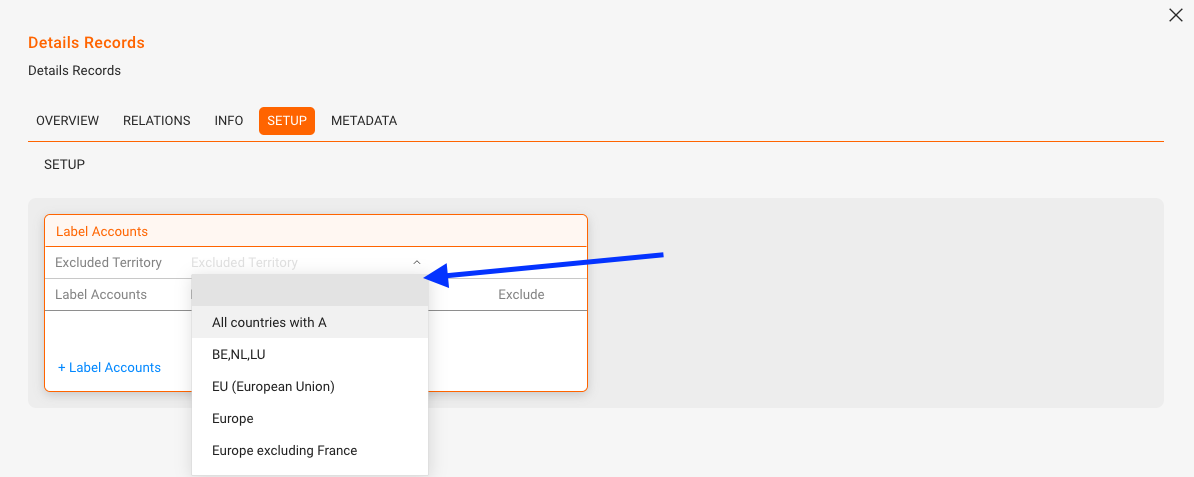
► Add Territory Restrictions
In the SETUP tab, define excluded territories where the label should not deliver.
If a territory is missing you can add it in SETTINGS / GENERAL / Territory via [+ Add New Territory].
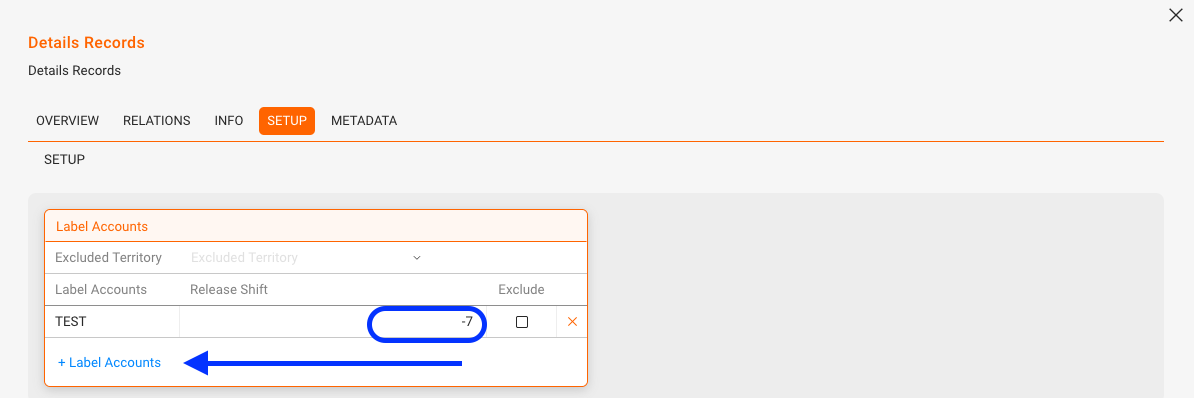
► Set up Label Account Specifics
In the SETUP tab, configure label accounts. You can set Release Shifts per account or mark accounts as excluded.
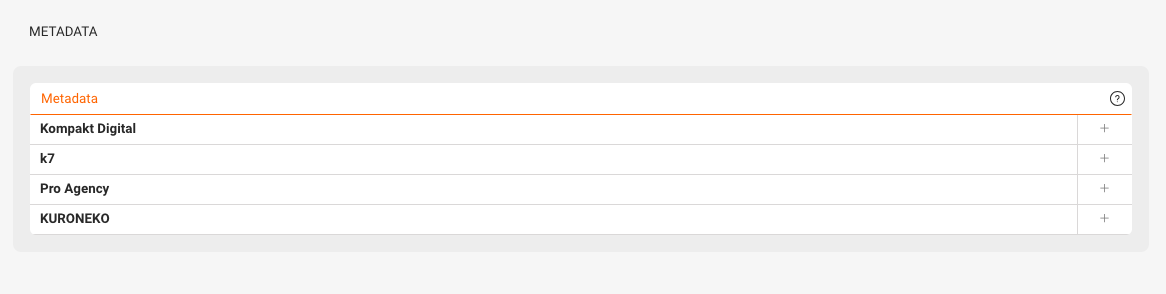
► Add Metadata
In the METADATA tab, attach predefined sets. If you want to enable or add metadata tabs, please contacting us.